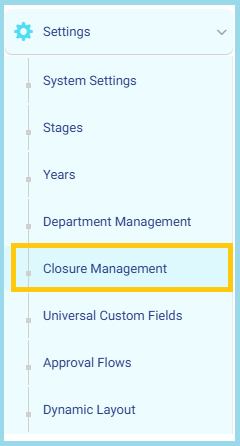
- From the Side Menu, open Settings.
- Select Closure Management from the list.
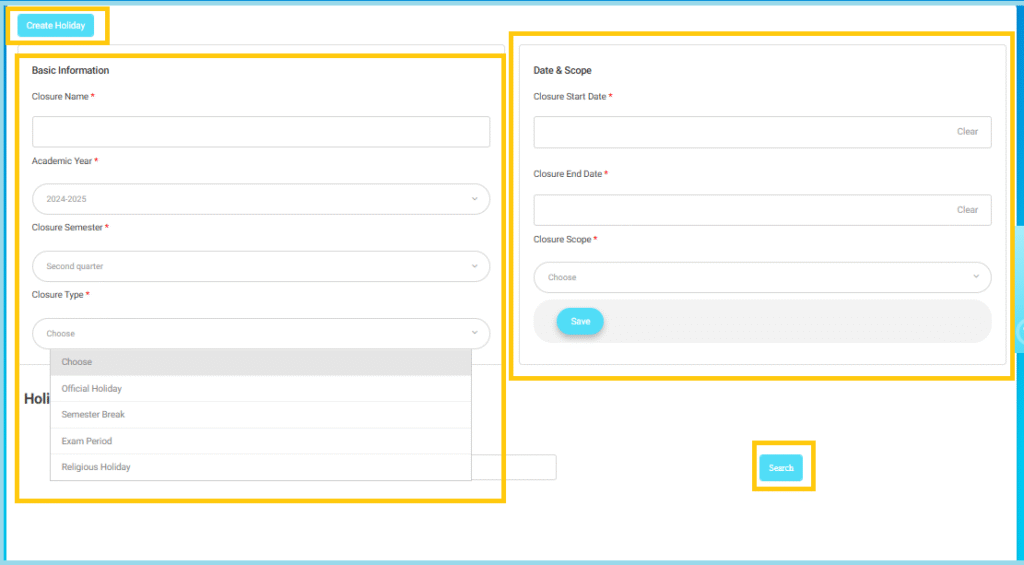
- Click the Create Holiday button at the top of the page.
Fill in the required basic fields:
• Closure Name *: Enter a clear name for the holiday or closure (e.g., Mid-Year Break, National Day).
• Academic Year *: Select the academic year the closure belongs to.
• Closure Semester *: Choose the semester that this holiday falls within.
• Closure Type *: Select the type of closure from the dropdown:
- Official Holiday
- Semester Break
- Exam Period
- Religious Holiday
Note: Choosing the correct type ensures the system applies the right restrictions and visibility settings.
• Closure Start Date *: Select the first day the holiday begins.
• Closure End Date *: Select the last day of the holiday.
• Closure Scope *: Choose which areas/modules will be impacted by this holiday (example: attendance, schedule, etc., depending on system configuration).
Note: The selected scope determines which actions will be disabled or paused during the holiday period.
- After completing all required fields, click Save button.
- The closure will be added to the system and applied automatically based on the date range.
Important Notes:
- All fields marked with * are mandatory.
- Ensure the start and end dates are correct before saving.
- Once saved, the closure affects all selected scopes for the entire specified period.


