On this page, you can create a full school schedule by adding settings that you need to be aware of.
To create a Schedule:
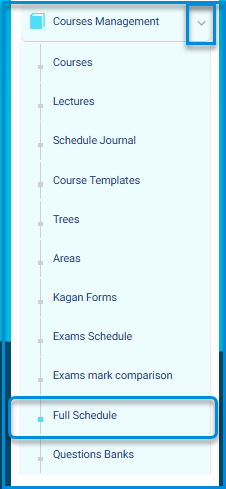
- Click the Courses Management from the main menu, then choose Full Schedule.
- Click the Schedule button.
- Click the Create Schedule button.
- Then select the school working days and breaks timeslots.
- Click Generate Schedule.
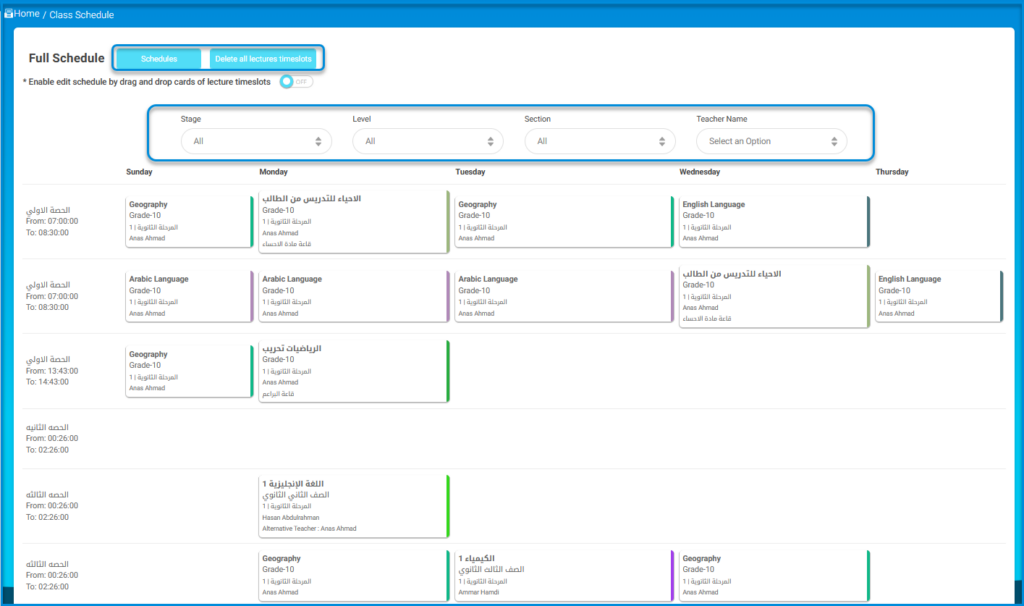
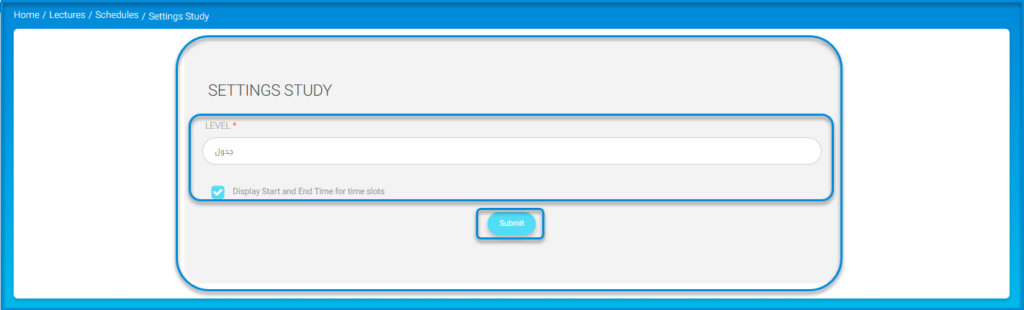
The Full Schedule page contains a table of all added schedules where you can click the Settings button from the Action column to edit the schedule name or decide whether to display start and end times for timeslots or not.

Department Schedule:
The Export Department Schedule feature is designed to enhance timetable management in Classera by introducing a dedicated department filter. This filter allows the timetable to be sorted based on selected departments, helping the system administrator manage schedules more efficiently.
The departments used in this feature are based on the departments created through the Add Department process explained in Section 1.
Access Path: From the homepage, go to the Subjects Management tab >> Full Schedule >> Export Department Schedule.
The department schedule is then displayed in full.
4- Schedule and Subjects:
A. Import from ASC
ASC Integration
- Save time and effort by eliminating manual data entry
- Easy integration with scheduling software such as ASC Timetables
- Automatic insertion of class schedules into the system
- Direct linking of classes to teachers and classrooms
- Fast updates to schedules when changes occur
- Enhanced accuracy of class-related reports and statistics
- Helps administration plan academic schedules more efficiently
- Reduces errors caused by manual entry

The Import Timetables from ASC Format feature is designed to simplify the process of importing timetables in XML format from the ASC system into the Classera system. This service offers an efficient method for uploading timetable data, such as courses, departments, teachers, and classrooms-along with the ability to validate and review the data before final activation.
Service Workflow:
1-File Upload:
- An XML file in ASC format is uploaded.
- The system checks the validity of the file and ensures it matches the required format while also detecting any issues related to the import process.

2-Data Mapping:
- The system automatically or manually maps the imported data (courses, departments, teachers, classrooms).
- A flexible interface is provided for users to correct errors or adjust data in case of conflicts.
3-Review and Filtering:
- Administrators are allowed to review the imported data before final activation.
- Data can be filtered according to specific criteria to make necessary adjustments prior to approving the schedule.
4-Activation:
- After review, the timetable can be activated.
- The system also provides options to deactivate the schedule or revert to a previous version in case of any issues after activation.


