Guardians accounts can view all the accounts of the students linked to them. That is why it is important to link them with their kids’ accounts. You can link the student and the parent whenever you are adding any one of them or even after that.
Classera system enables us to control adding users as guardians on the main platform through the system administrator’s account, thus following some steps:
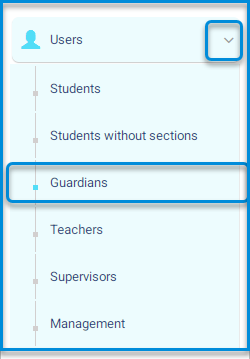
- Click on the user’s dropdown menu from the sidebar.
- Click on the Guardians button
Adding Guardians #
1.Click on the user’s dropdown menu from the sidebar. Users >> Guardians
- Click on the Guardians button.
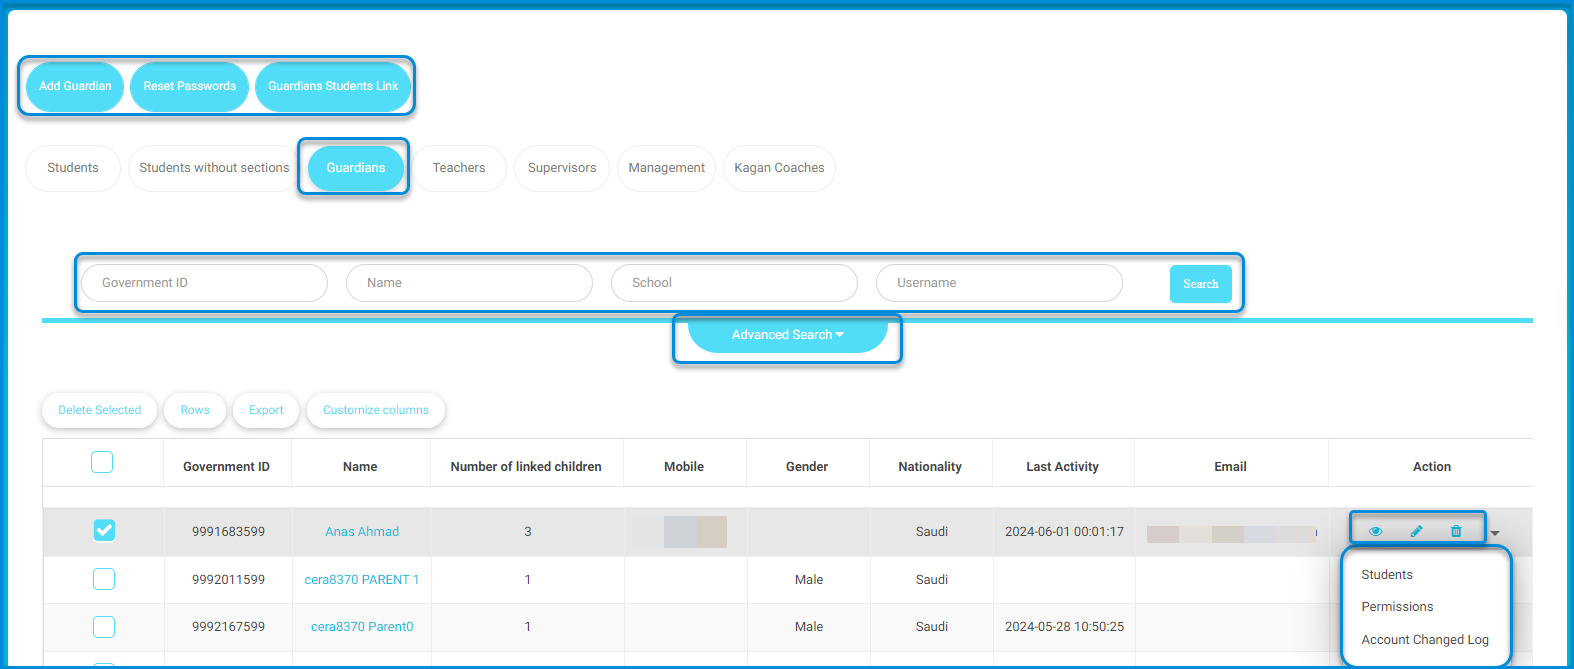
The system navigates to the main screen with guardians’ settings, containing various tabs:
- Students.
- Students without Sections
- Guardians.
- Teachers.
- Supervisors.
- Management.
- King Coaches.
- The screen contains a table with data of all guardians on the main platform and their search engines by various methods like ID number, username, school, and guardian’s name.
Guardians Page Content : #
- The Add Guardian button to add guardians individually.
- The Reset Passwords button to reset passwords for all parents’ accounts to the one chosen by the system.
- The Guardians Students Link button to link parents to their kids’ accounts.
- The Search fields to search for a specific guardian.
- A table of all LMS’s guardians with their data.
- An Action column in the table where you can you can view, edit and delete guardians in addition to a small arrow to list more options, such as, Students where you can view the students linked to the parent and unlink them.
- Click on the Add Guardian button.
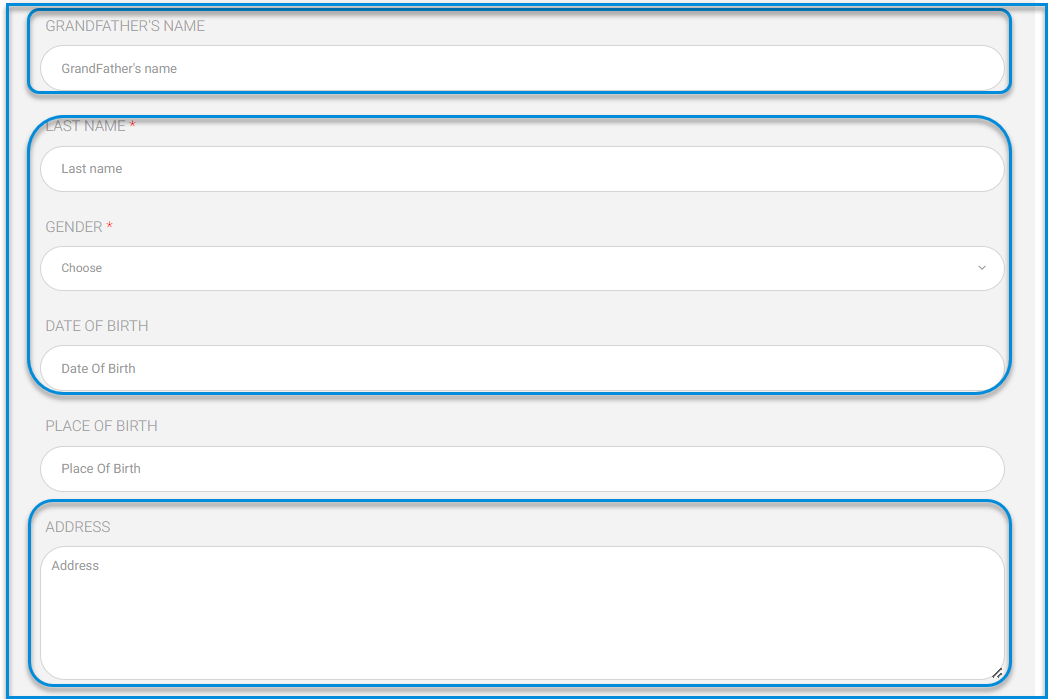
- The system moves to the screen for entering guardians’ data to be inserted as follows in their respective fields:
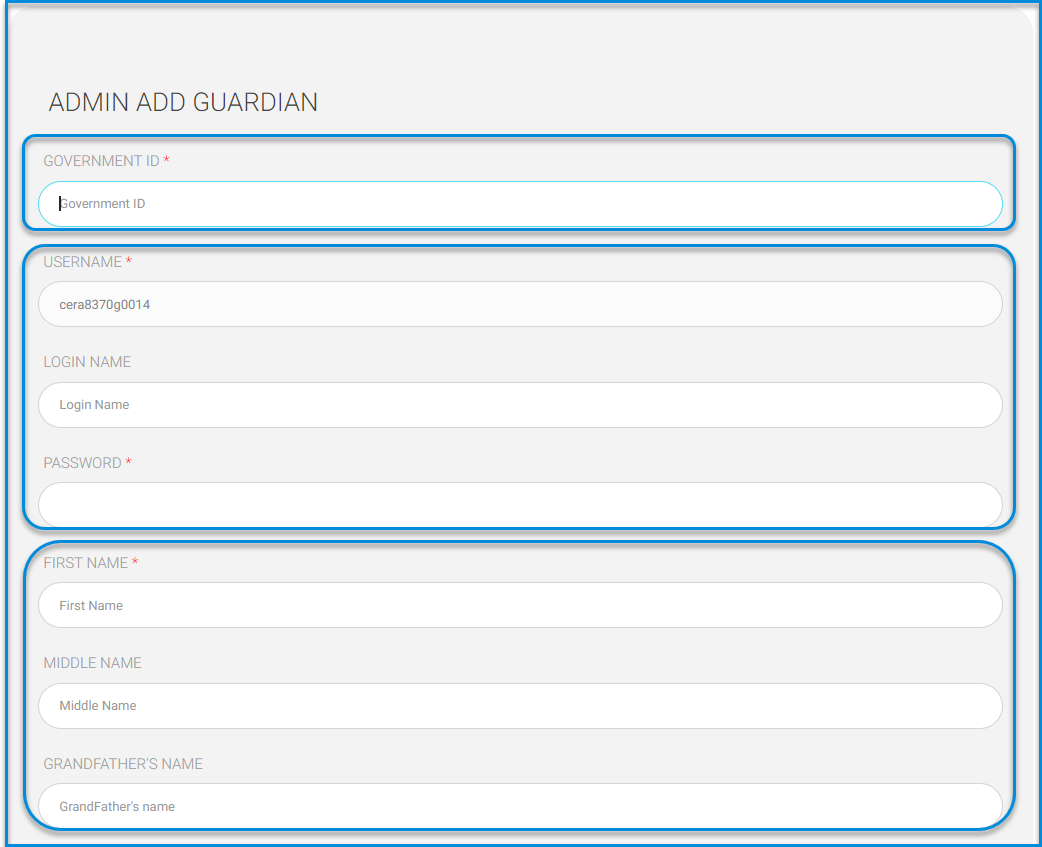
- Enter the guardian’s ID number.
- The user’s name is automatically filled by the system and can be changed.
- Insert the guardian’s username.
- The guardian’s password must be set.
- Enter the guardian’s first name.
- Enter the middle name.
- Enter the grandfather’s name.
- Enter the guardian’s last name.
- Select the gender from the dropdown menu (Male – Female).
- Enter the guardian’s date of birth.
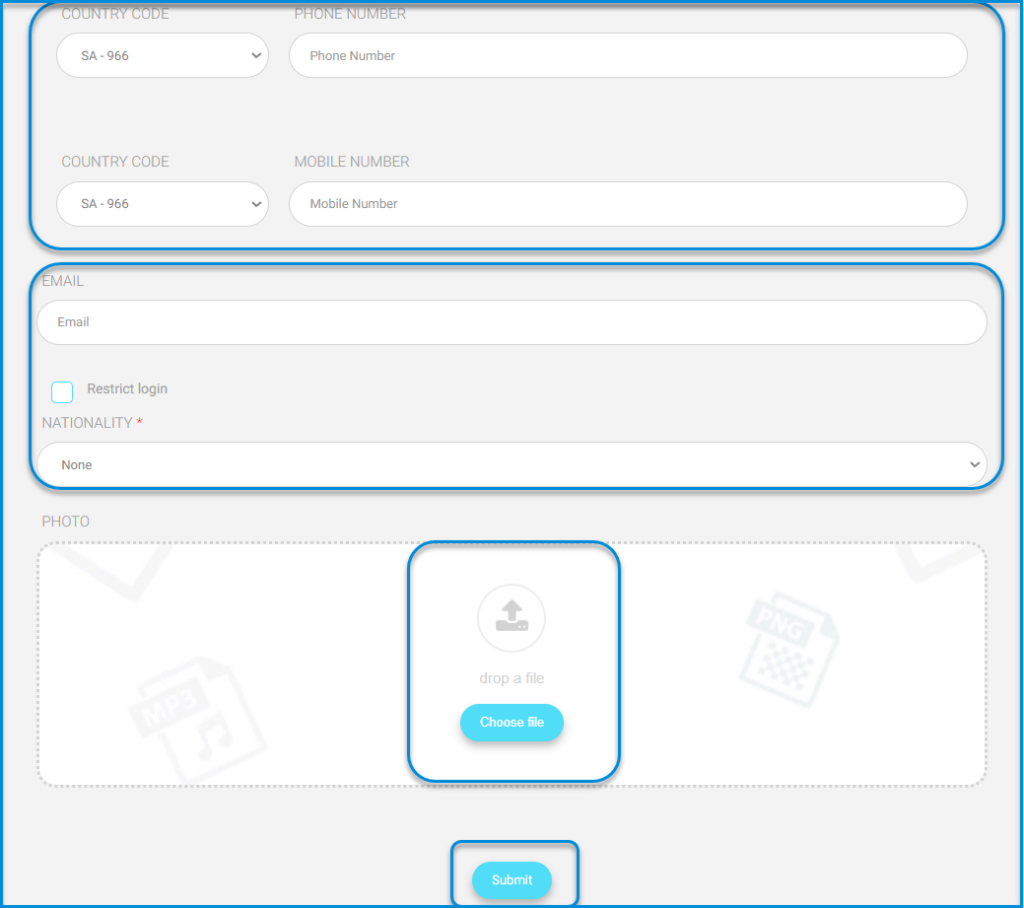
- Enter the email and complete the remaining data.
Note: User access to the system can be controlled based on management decisions by clicking on the
Restrict login button.
- Choose the user’s nationality from the nationality dropdown menu.
- A specific file for the guardian can be uploaded by clicking on the Choose File button and inserting it.
- After finishing, click on the Submit button.
Note: All guardians’ data can be added from the student addition sheet once.”
