Registration Status Change Logs #
From the main menu:
- Open the Registration dropdown list.
- Select Registration Status Change Logs.
Filtering Registration Status Change Logs
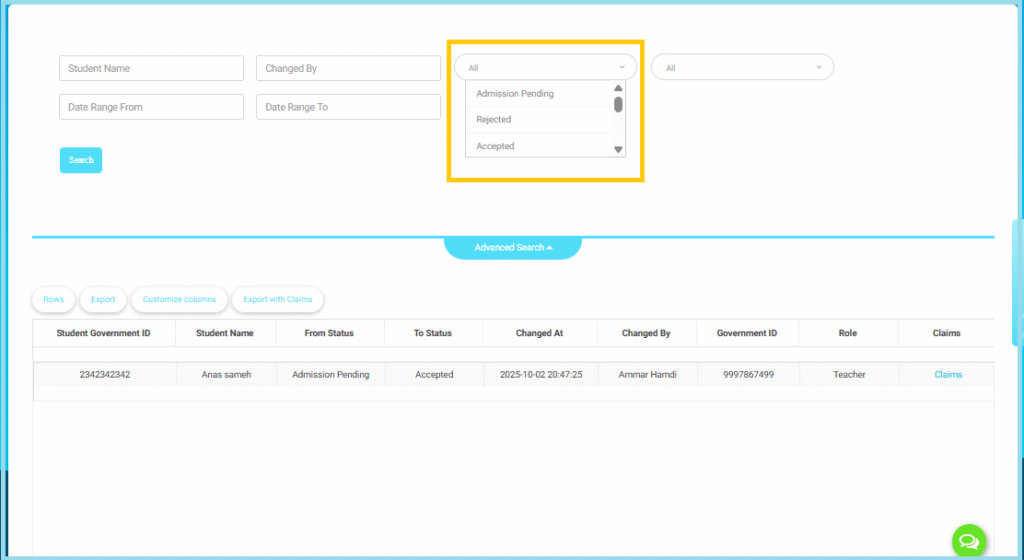
Once you open the Registration Status Change Logs page, you can use the advanced search panel to filter and view specific status-change records.
Open the Filters:
At the top of the page, you will find several search fields used to filter the logs.
Select the Registration Status:
Use the Status dropdown menu (highlighted in the screenshot) to filter by one or more status values, such as:
- Admission Pending
- Rejected
- Accepted
- Any additional statuses configured by the school
You may select:
- A single status
- Multiple statuses at the same time
2. Additional Search Filters
You can also filter logs using any of the following fields:
- Student Name
- Changed By
- Date Range (Date Range From, Date Range To)
Additional Dropdowns:
Depending on system configuration, you may see other dropdowns such as grade, stage, or type.
3. Viewing the Results
After selecting the filter criteria:
- Click Search
- The filtered results will appear in the table below, showing:
- Student Government ID
- Student Name
- From Status (previous status)
- To Status (new status)
- Changed At (date & time of the update)
- Changed By (staff member who made the change)
- Government ID
- Role
- Claims (if there are any linked claims or notes)
4. Additional Actions
- Export
- Customize Columns
- Export with Claims
5. Best Practices
Combine Status and Date Range filters to track changes during critical stages of the admission cycle.
Use Date Range to avoid loading large amounts of data during peak admission periods.
Use the Changed By filter when reviewing internal errors or disputes.
Registration Forms #
From the main menu:
- Open the Registration dropdown list in the left-side menu.
- Click on Registration Forms.
1. Page Components
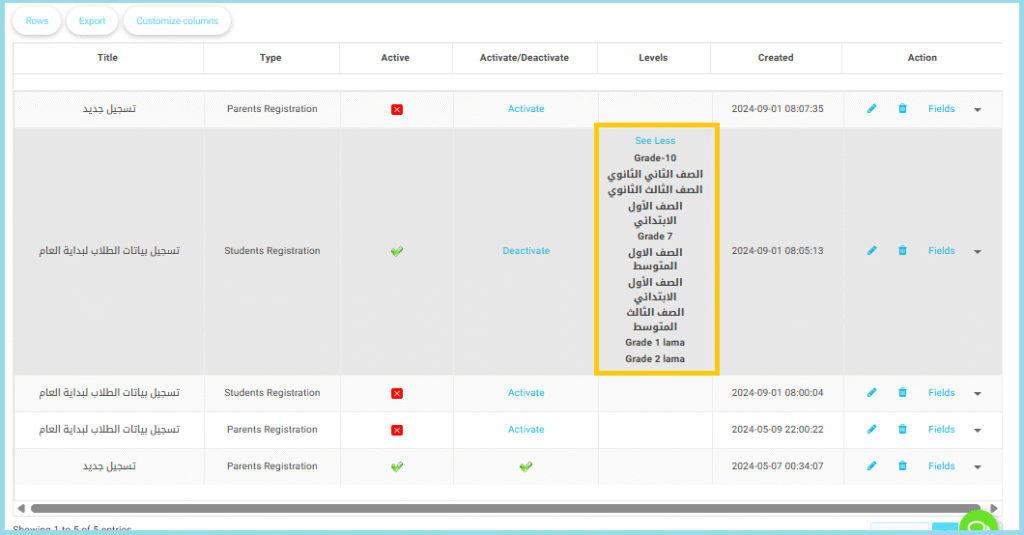
a. Forms List
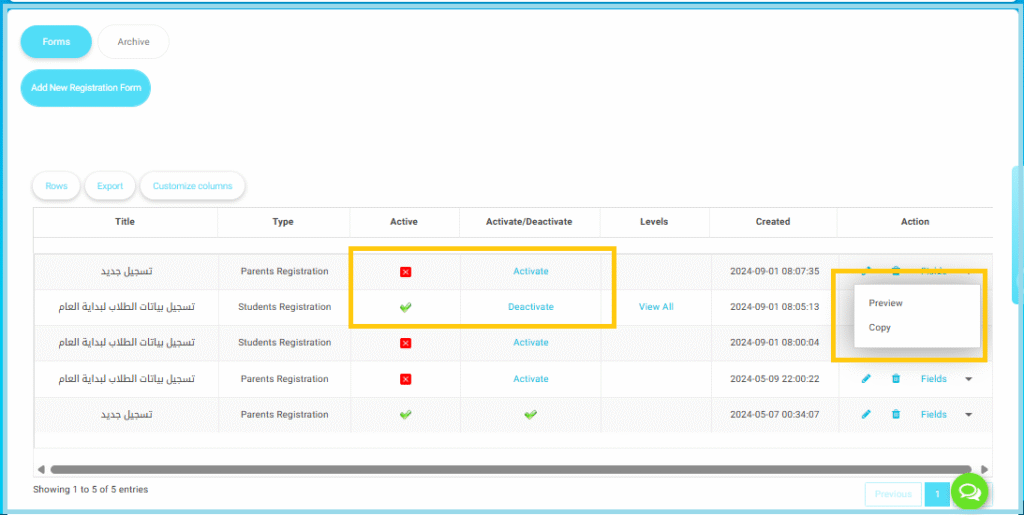
The table displays all existing registration forms with key details:
- Title
- Type
- Active
- Activate/Deactivate
- Levels
- Created
- Action
1. Page Components
a. Forms List: The table displays all existing registration forms with key details:
- Title
- Type
- Active
- Activate/Deactivate
- Levels
- Created
- Action
2. Activate / Deactivate Forms: Each form can be turned ON or OFF for use by parents.
Activate: Makes the form available for Users.
Deactivate: Hides the form from Users.
3. Action Menu (Preview & Copy)
Click the vertical three-dots icon under Action to access:
Preview: Opens a read-only view of the form.
Copy: Creates a duplicate of the selected form.
Note:
A single class cannot be linked to more than one registration form. Therefore, any class already linked to an existing form will not appear when creating a new form.
This update will allow multiple registration forms to be activated at the same time, with each form linked to different classes.
Registration Settings #
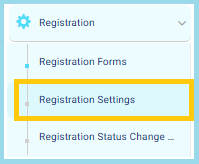
From the main menu:
- Open the Registration dropdown.
- Click Registration Settings.
1. Creating a Detailed Admission Test Schedule
This feature allows you to build a comprehensive admission test table that supports:
- Adding multiple tests inside each schedule
- Creating multiple time slots for each test
- Organizing both onsite and online admission tests efficiently
- Online Test: When the test type is Online, the system automatically generates a session link for each time slot.
- Onsite Test: When the test type is Onsite, you can print a test sheet for each session directly from the system.
2. Registration Workflow
The Registration Workflow helps the Registration Officer streamline the entire student registration process by grouping all required actions into one organized and unified flow.
This ensures efficient management of applications, customization of labels, handling of fees, and tracking status changes—all from one place.
Registration Workflow Steps
- Build the Form: Create the registration form and configure all required fields.
- Registration Fees: Choose whether registration fees must be paid before submitting the form or after submission.
- Customize Labels: Adjust field names to match the school’s terminology and requirements.
- Manage Applications: View, update, and track all registrations in one place.
- Final Submission: Confirm all information and complete the final submission of the student’s registration.


