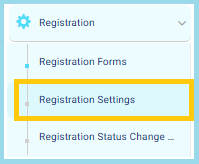
From the main menu:
- Open the Registration dropdown.
- Click Registration Settings.
1. Creating a Detailed Admission Test Schedule
This feature allows you to build a comprehensive admission test table that supports:
- Adding multiple tests inside each schedule
- Creating multiple time slots for each test
- Organizing both onsite and online admission tests efficiently
- Online Test: When the test type is Online, the system automatically generates a session link for each time slot.
- Onsite Test: When the test type is Onsite, you can print a test sheet for each session directly from the system.
2. Registration Workflow
The Registration Workflow helps the Registration Officer streamline the entire student registration process by grouping all required actions into one organized and unified flow.
This ensures efficient management of applications, customization of labels, handling of fees, and tracking status changes—all from one place.
Registration Workflow Steps
- Build the Form: Create the registration form and configure all required fields.
- Registration Fees: Choose whether registration fees must be paid before submitting the form or after submission.
- Customize Labels: Adjust field names to match the school’s terminology and requirements.
- Manage Applications: View, update, and track all registrations in one place.
- Final Submission: Confirm all information and complete the final submission of the student’s registration.


