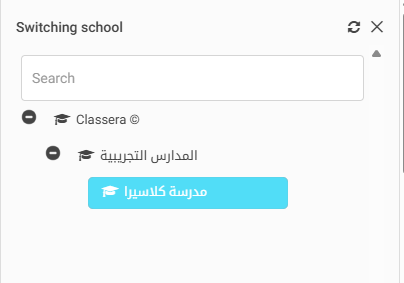
If a teacher is associated with multiple schools, when adding new schedules, the system must display the list of schools the user is connected to—ensuring the teacher can select the correct institution before adding class schedules.
(This applies to all users with multiple-school affiliations.)
The newly added schedule becomes available to users across all the selected schools.
Booking Conditions
A user can reserve an appointment only if the following conditions are met:
The user belongs to one or more of the selected schools.
The maximum number of allowed bookings across all schools has not been exceeded.
The user does not already have another booking in a different school at the same time.
If the user’s time slot is fully booked in one school, they will not be able to book additional slots in any other school at the same time.
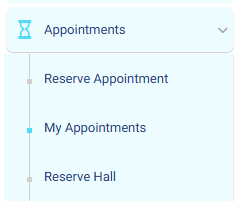
To access the new feature:
From the Side Menu, select My Appointments, and then Add Schedule.
Note: Once a booking is confirmed in one school, the system automatically restricts new bookings during that same time slot across all other linked schools.
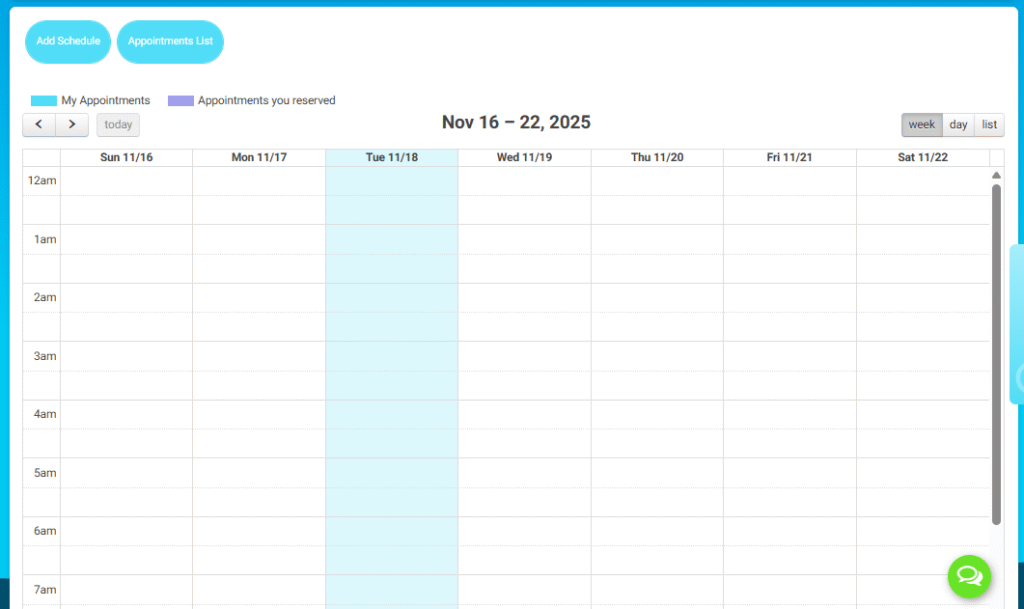
Creating a New Schedule (Admin / Staff)
Steps to Add a Schedule:
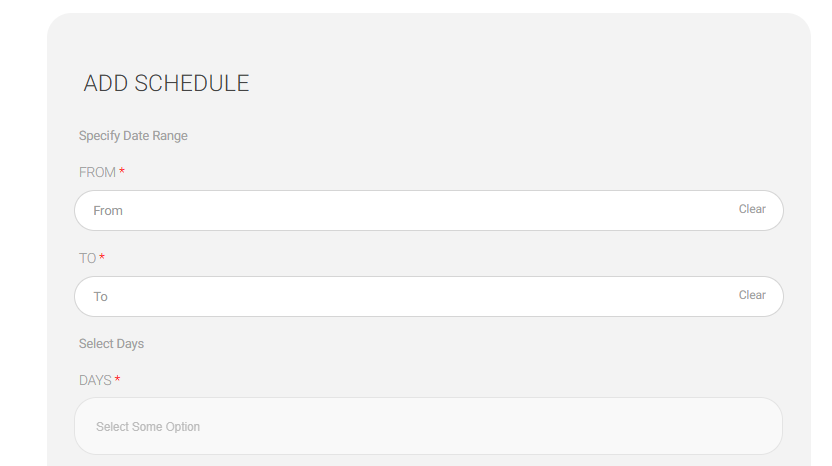
A. Specify Date Range
From → Start date
To → End date
B. Select Days
Choose one or multiple days (e.g., Sunday–Thursday).
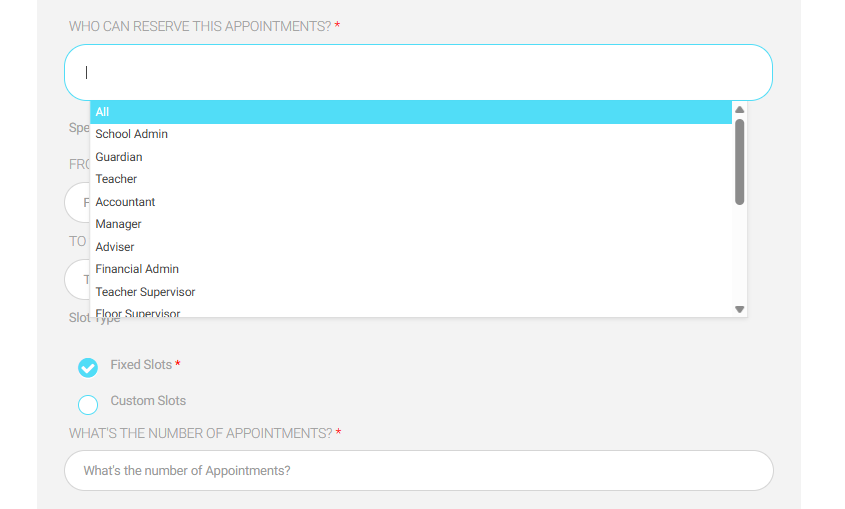
2. Set Who Can Reserve This Appointment
Allowed Roles:
All
School Admin
Guardian
Teacher
Accountant
Manager
Adviser
Financial Admin
Teacher Supervisor
Floor Supervisor …and more depending on permissions.
Choose one or multiple roles.
3. Choose Slot Type
Two options:
Fixed Slots → System automatically creates equal time slots.
Custom Slots → User defines exact start and end times manually.
Number of Appointments
Define how many appointments can be reserved per slot.
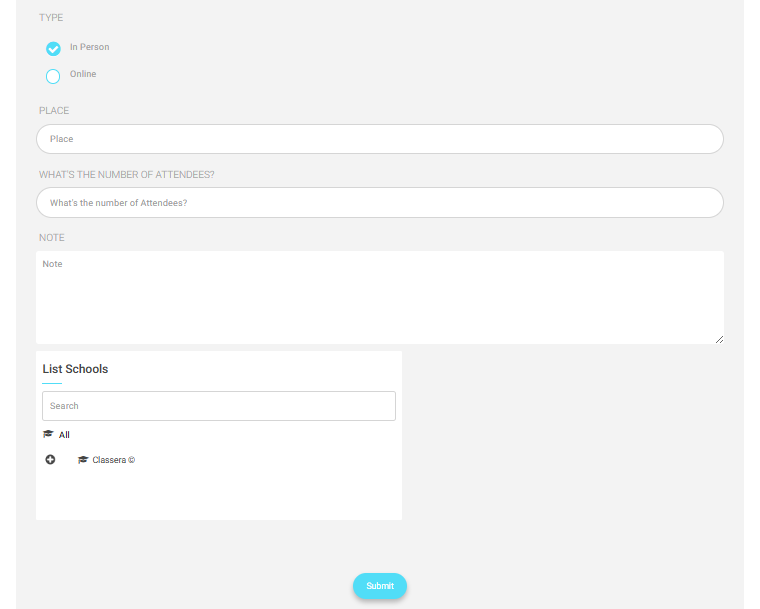
4. Appointment Type
Select:
In Person
Online
Additional Fields:
Place → Room/Hall/Office name
Number of Attendees → Maximum participants
Notes → Any extra information visible to users
4. Assigning Schools for This Schedule
Options:
Apply to All schools, or Select specific school(s) from the list.
6. Submit
Final Step:
Click Submit to save the schedule.
System publishes the available appointment slots for users to reserve.
Additional Notes (Very Important)
Only users with permission can create schedules.
Calendar automatically updates after a schedule is created.
Users can only reserve slots allowed by the creator’s settings.