Bulk Update of Student Status #
The System Administrator (Admin) can update the status of a group of students in bulk through:
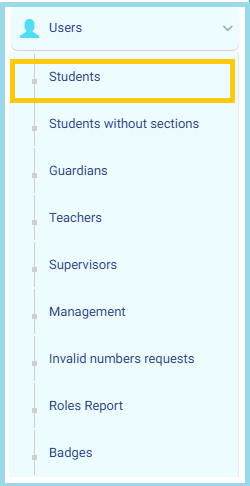
- From the Main Menu, open the Users drop-down list.
- Click on Students to access the full list of student accounts.
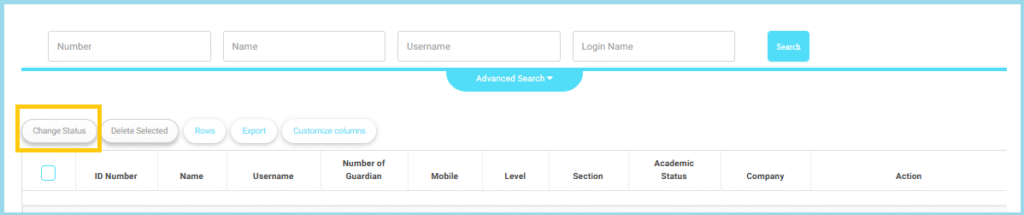
This feature allows the Admin to modify the status of multiple students simultaneously, reducing manual effort and ensuring efficient data management.
Business Validation Rules:
The system applies the following rules before completing the process:
- The selected students must belong to the same academic year.
- The selected students must belong to the same school (in multi-school environments).
- The new status selected must be different from the current student status.
- Students must have valid administrative IDs (Admin ID).
- Students must have valid educational IDs (Student ID).
- The statuses allowed for update are:
- Active
- Deleted
- Blocked
- Transferred
- Suspended
- Graduated
- Admission Pending
Note
- If the selected students exceed 500 students, the system will display a warning message and will not complete the operation.
- If one of the selected students does not meet the criteria (different school, invalid ID, etc.), the system will notify the user and exclude that student from the bulk update.
Managing Grade Report Locking for Students (System Admin Account) #
This feature allows the System Administrator to lock or unlock student grade reports for specific students as needed.
To access the grade report lock/unlock feature, follow these steps:
- From the Side Menu, open Grades Management.
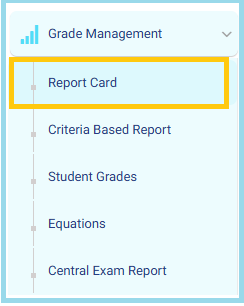
2. Click Report Card to view all available grade report records.
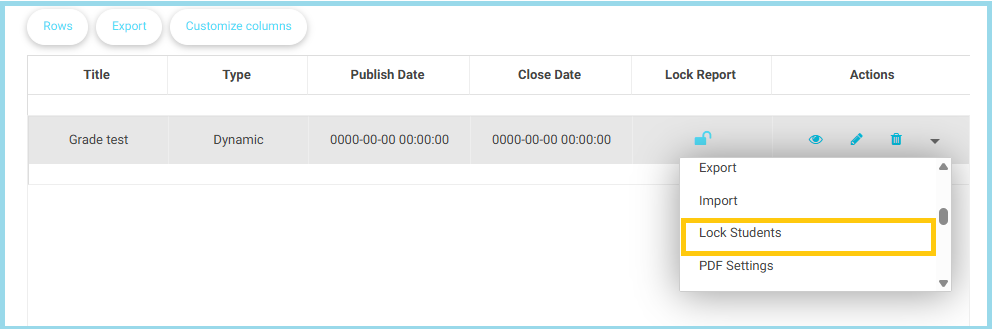
3. Locate the student whose report status you want to modify.
4. Click the Actions Menu dropdown list next to the student’s record.
5. Choose Lock Students.
6. Confirm the action when the system prompts you.
Mark Scheme Analysis #
To access the Mark Scheme Analysis feature, follow these steps:
- From the Side Menu, open Grades Management.
2. Click Report Card to view all available grade report records.
3. Locate the student whose report status you want to modify.
4. Click the Actions Menu dropdown list next to the student’s record.
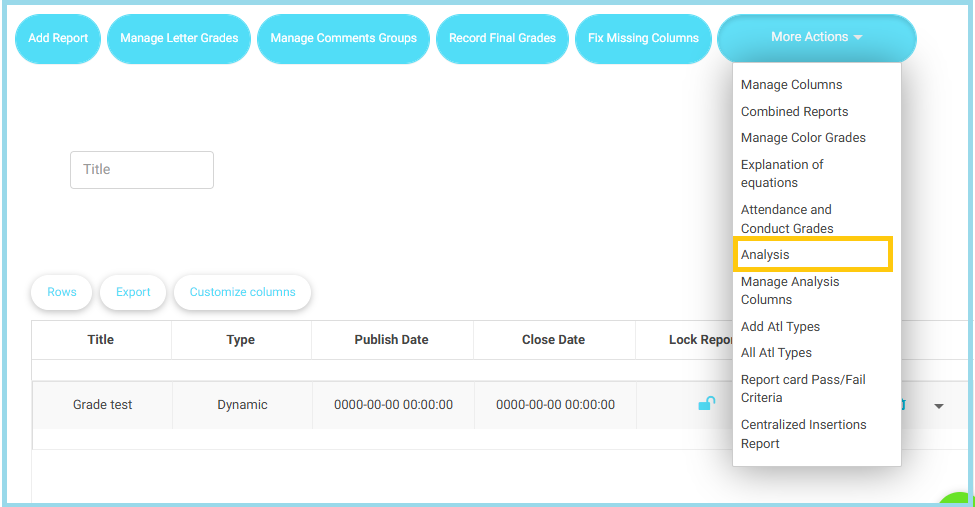
5. Click on the Analysis Button.
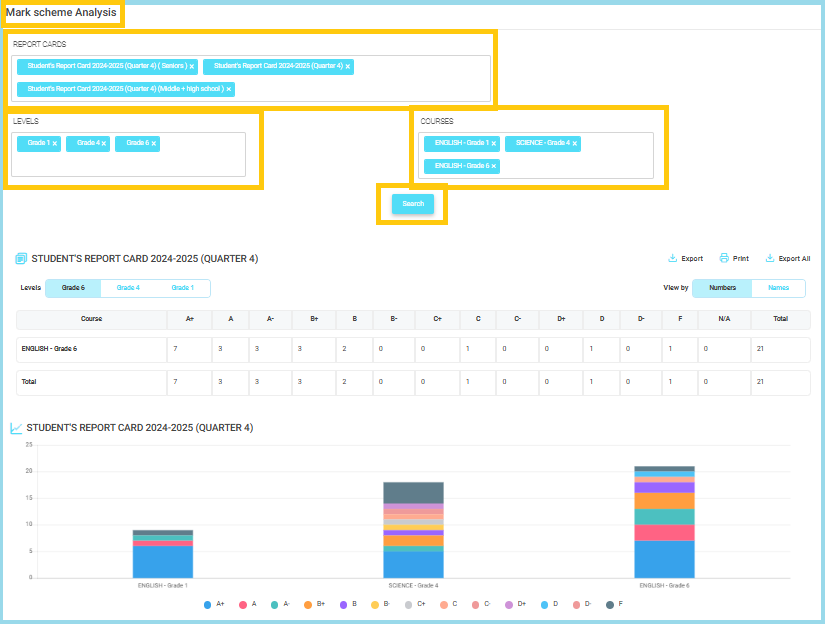
1. Report Cards Selector
- Appears at the top of the page.
- Allows you to select which Report Card (Quarter / Cycle / Grade Range) you want to analyze.
- You can select multiple reports at once.
Note: Choose the correct quarter before searching to ensure accurate results.
2. Levels Selector
- Choose the Grade Level(s) (e.g., Grade 1, Grade 4, Grade 6).
- Multiple grades can be selected to compare performance across levels.
Note: The page updates only after pressing the Search button.
3. Courses Selector
- Select the course(s) you want to analyze (e.g., English – Grade 1, Science – Grade 4).
- Supports multi-selection to generate combined statistics.
4. Search Button
- After selecting Report Card + Level(s) + Course(s), click Search.
- The system will load the grading distribution table and charts.
Tip: If data does not appear, verify that the selected level has students in the selected course.
Displayed Results
5. Grade Distribution Table
- Shows the count of students receiving each grade (A+, A, A-, B+, etc.).
- Includes totals per course and combined totals for all selected courses.
- View mode options: Numbers or Names.
Note:
- “NA” shows students with no grade submitted.
- Use this table to quickly identify grade patterns.
6. Visual Performance Charts
- Bar charts summarizing grade distribution for each selected course.
- Helps visualize overall performance at a glance.
- Colors represent grade categories (A+, A, B+, etc.).
Note: Ideal for quick comparison across levels or courses.
Additional Options
7. Export / Print Tools
- Export: Download reports in Excel or PDF format.
- Print: Generate a printer-friendly version.
- Export All: Export all selected courses and levels together.
Key Notes & Tips
- Always select Report Card + Level + Course before clicking Search.
- Multi-selection is supported across all fields (Report Cards, Levels, Courses).
- Use the View By: Numbers / Names toggle to switch between data formats.
- Perfect for academic analysis, quality checks, and understanding grade distribution trends.
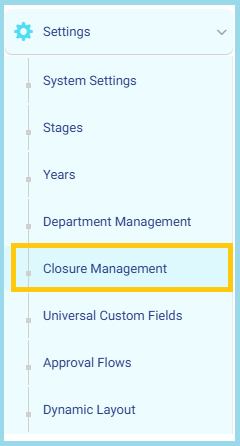
Closure Management #
- From the Side Menu, open Settings.
- Select Closure Management from the list.
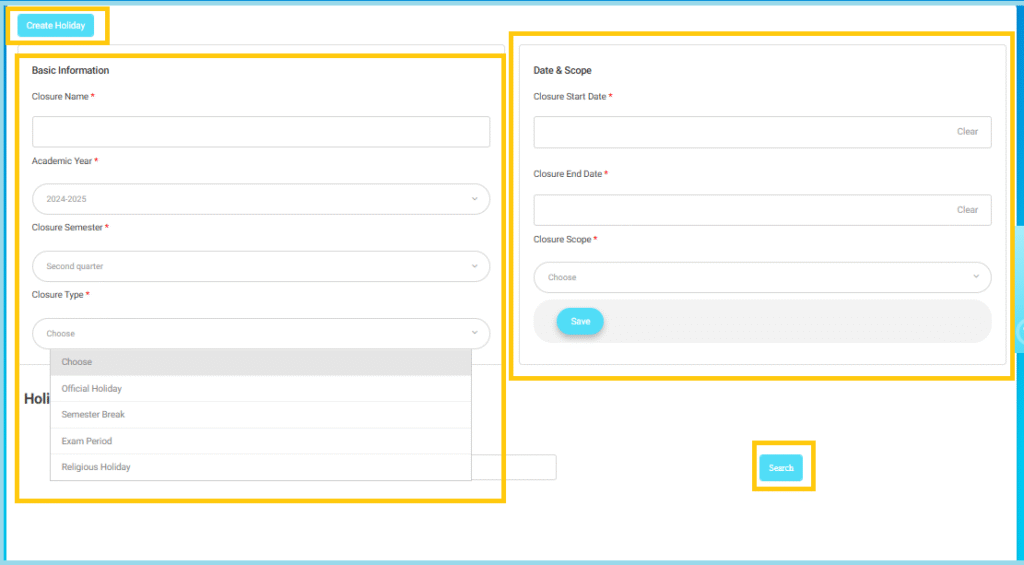
- Click the Create Holiday button at the top of the page.
Fill in the required basic fields:
• Closure Name *: Enter a clear name for the holiday or closure (e.g., Mid-Year Break, National Day).
• Academic Year *: Select the academic year the closure belongs to.
• Closure Semester *: Choose the semester that this holiday falls within.
• Closure Type *: Select the type of closure from the dropdown:
- Official Holiday
- Semester Break
- Exam Period
- Religious Holiday
Note: Choosing the correct type ensures the system applies the right restrictions and visibility settings.
• Closure Start Date *: Select the first day the holiday begins.
• Closure End Date *: Select the last day of the holiday.
• Closure Scope *: Choose which areas/modules will be impacted by this holiday (example: attendance, schedule, etc., depending on system configuration).
Note: The selected scope determines which actions will be disabled or paused during the holiday period.
- After completing all required fields, click Save button.
- The closure will be added to the system and applied automatically based on the date range.
Important Notes:
- All fields marked with * are mandatory.
- Ensure the start and end dates are correct before saving.
- Once saved, the closure affects all selected scopes for the entire specified period.
Custom Libraries #
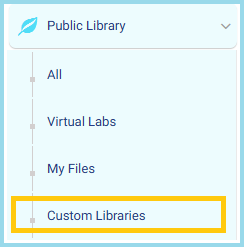
- From the side menu, go to Public Library.
- Click on Custom Libraries to view or manage your personalized library collections.
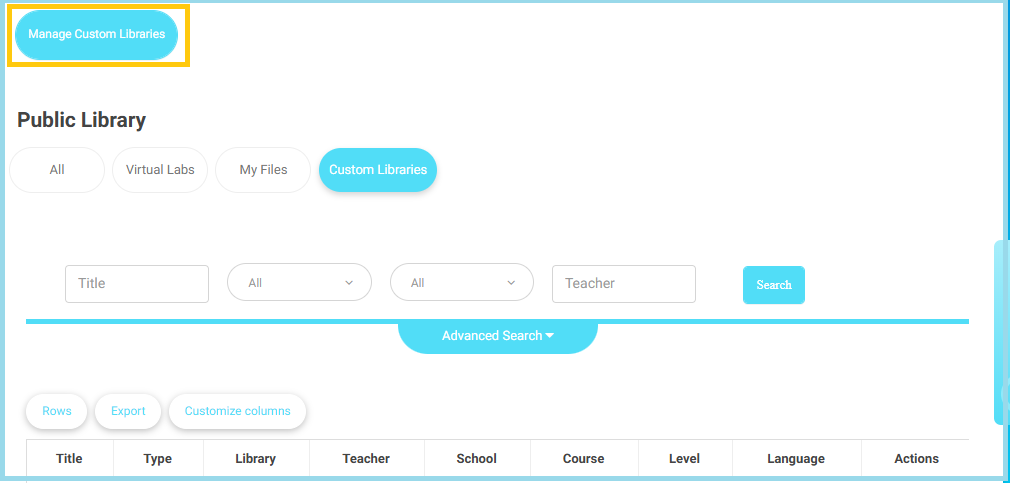
- At the top, select Manage Custom Libraries to open the management dashboard.
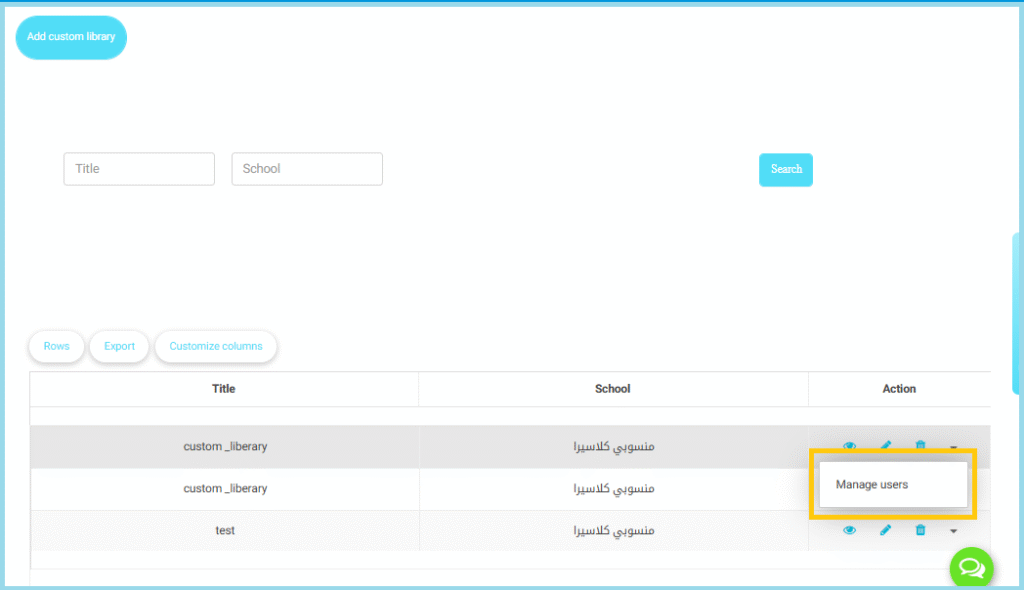
- Under the Action column, from the dropdown list, select Manage Users.
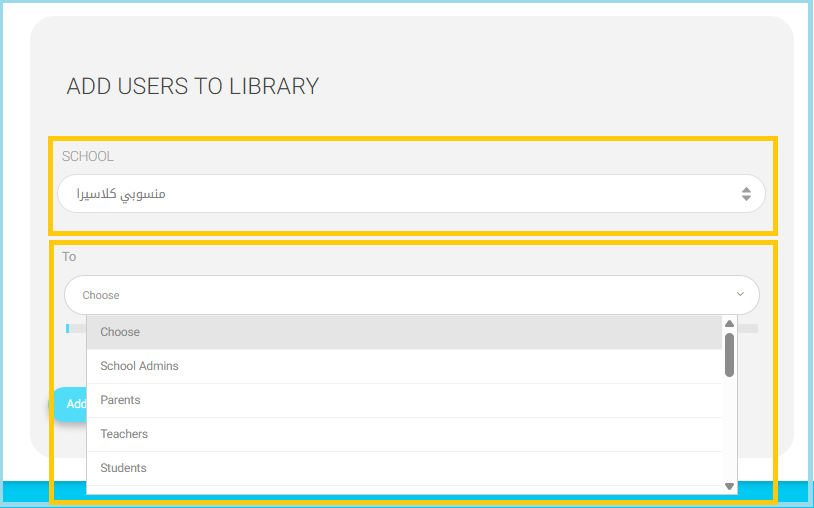
- Click the Add users to library button at the top left of the page.
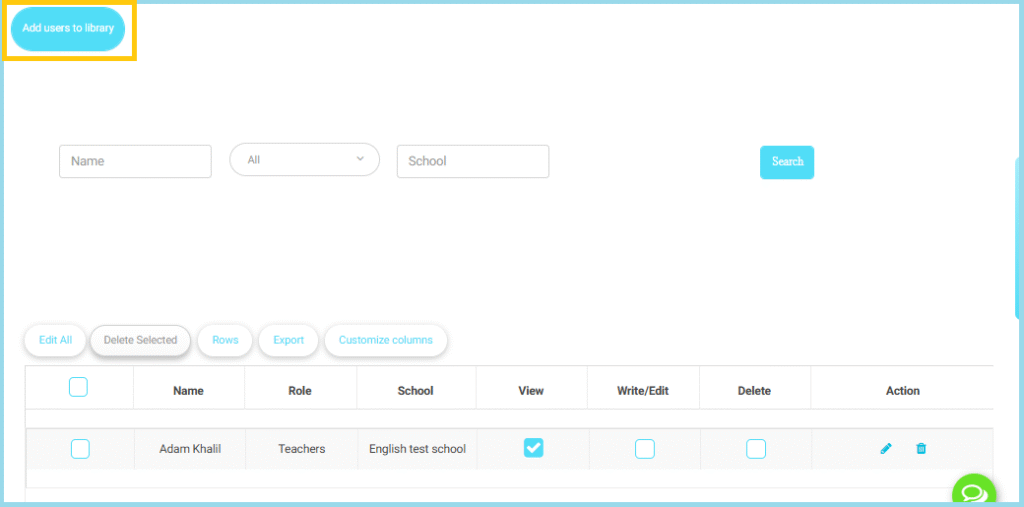
- In the School dropdown, choose the school where the users belong.
- Only users from the selected school will appear in the next step.
Note: If your account has multi-school access, make sure to choose the correct school to avoid adding users from the wrong institution.
Enable PDF Conversion #
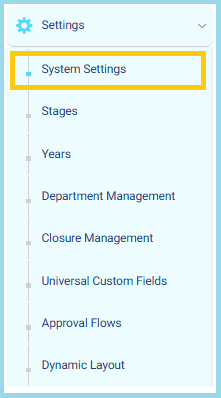
- Open Settings → System Settings.
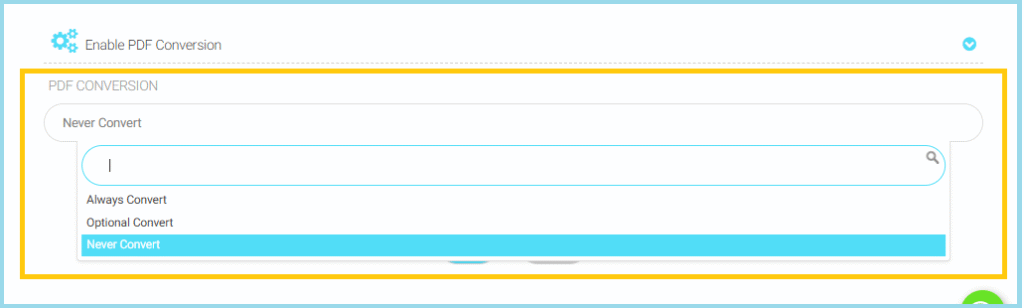
- Navigate to Enable PDF Conversion.
- Click the dropdown under PDF Conversion.
- Select one of the three options: Always Convert, Optional Convert, or Never Convert.
- Changes are applied instantly and affect all users.
Students ePortfolios #
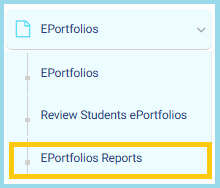
- From the side menu, select EPortfolios.
- Click EPortfolios Reports.
3. At the top-left, select either:
- Students
- Employees
The page will update according to your selection.
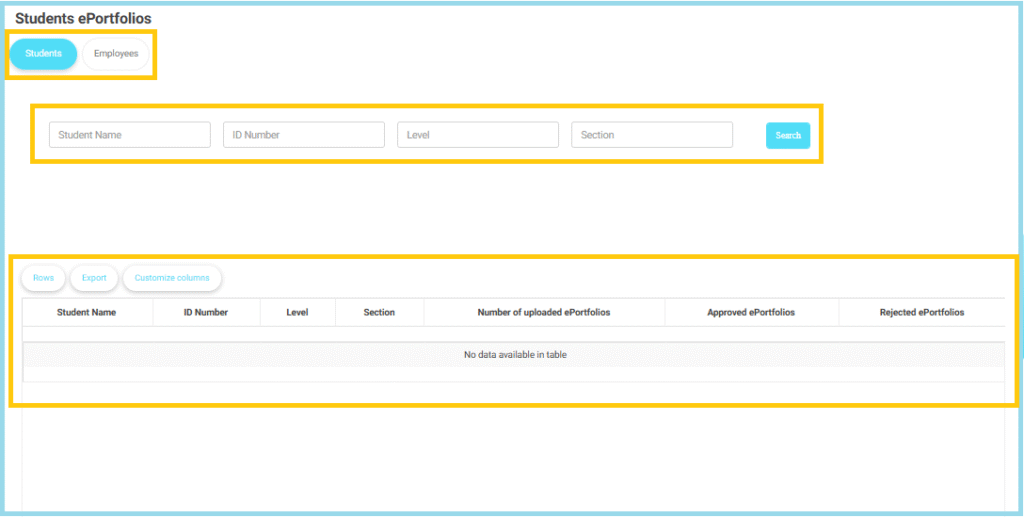
Use Search Filters
- Enter Student Name (optional).
- Enter ID Number (optional).
- Select the Level from the dropdown.
- Select the Section.
- Click Search to display results.
Notes
- If a user has multiple roles, their name will appear separately for each role, and the ePortfolio count is displayed based on the specific role shown.
- During the review process for students or teachers, a Subject filter is available to help refine and manage approval or rejection of ePortfolios more efficiently.
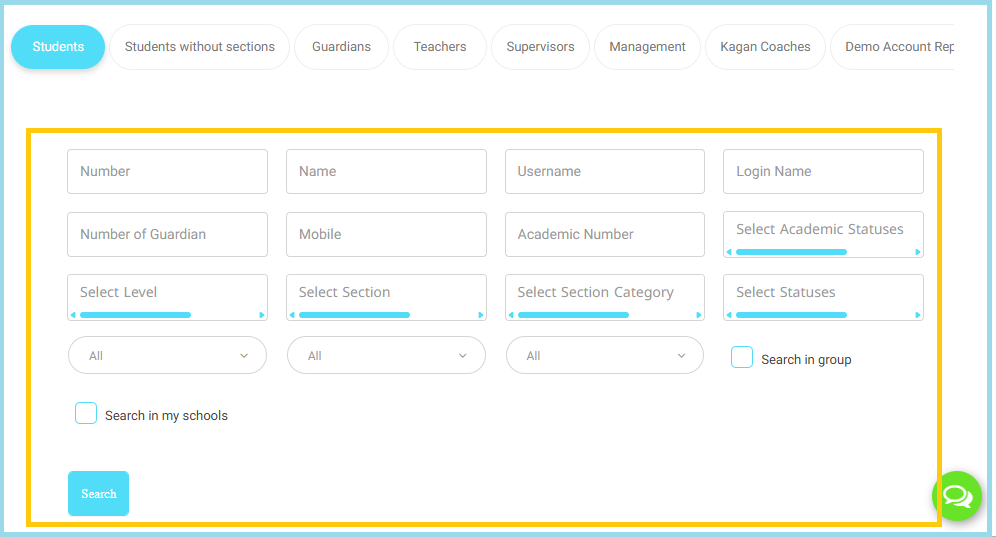
Enhancements to User Management Filters #
- From the side menu, click Users.
- Select Students from the dropdown list.
Enabling Multi-Select (Select-Multi) in a Set of Filters Instead of Single-Select Only
Manage Badge #
- From the side menu, go to Users.
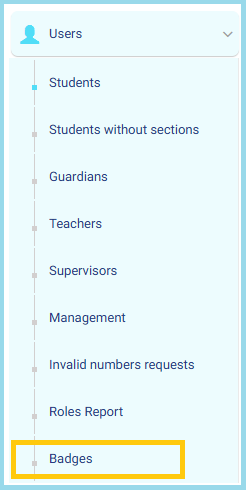
- Click Badges, then select Badge Designs at the top of the page.
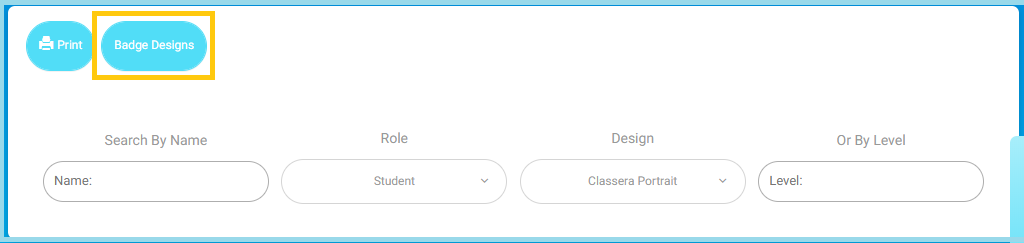
- Click the Add button (blue circular button on the left).
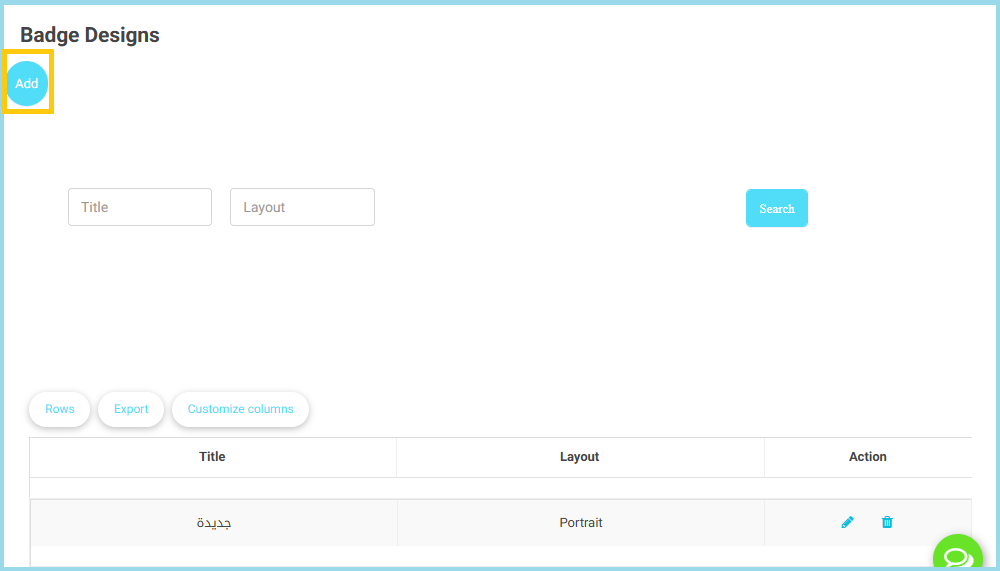
- A form will appear to enter the badge details.
- Fill in the required fields such as:
- Title: (badge name)
- Layout:(e.g., Portrait, Landscape)
- Role: Choose the role this badge applies to (e.g., Student, Teacher, Supervisor).
- Fields: Select the information fields to display on the badge.
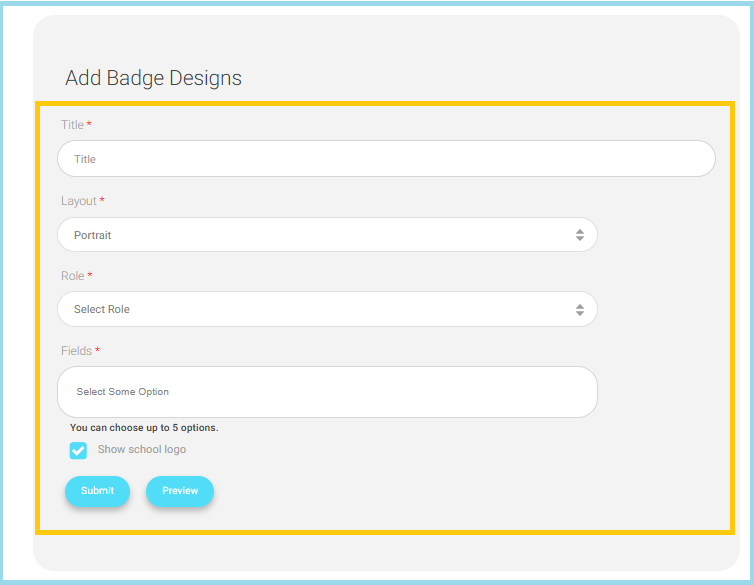
- Upload any design elements if required (logo, background, etc.).
- Click Preview to view how the badge will look before saving.
- Click Submit to create the new badge design.


